What LUX Series film was used on this Captiva?
LUX Series is a heat rejection film with a Lifetime Limited warranty. The series includes four codes, and the available information does not specify which code was applied to this Captiva, so the specifications below are listed for each code.
- LUX 70: 68% visible light transmission (VLT), 99% UV rejection, 99% infrared rejection, 65% total solar energy rejected (TSER), 2 Mil thickness, 35% glare reduction.
- LUX 50: 50% VLT, 99% UV rejection, 99% infrared rejection, 65% TSER, 2 Mil thickness, 46% glare reduction.
- LUX 20: 18% VLT, 99% UV rejection, 99% infrared rejection, 75% TSER, 2 Mil thickness, 78% glare reduction.
- LUX 05: 5% VLT, 99% UV rejection, 99% infrared rejection, 86% TSER, 2 Mil thickness, 91% glare reduction.
TSER measures the share of total solar energy the film blocks, while VLT measures how much visible light passes through. A lower code means darker glass and stronger glare reduction.
Which glass areas were covered on the Chevrolet Captiva?
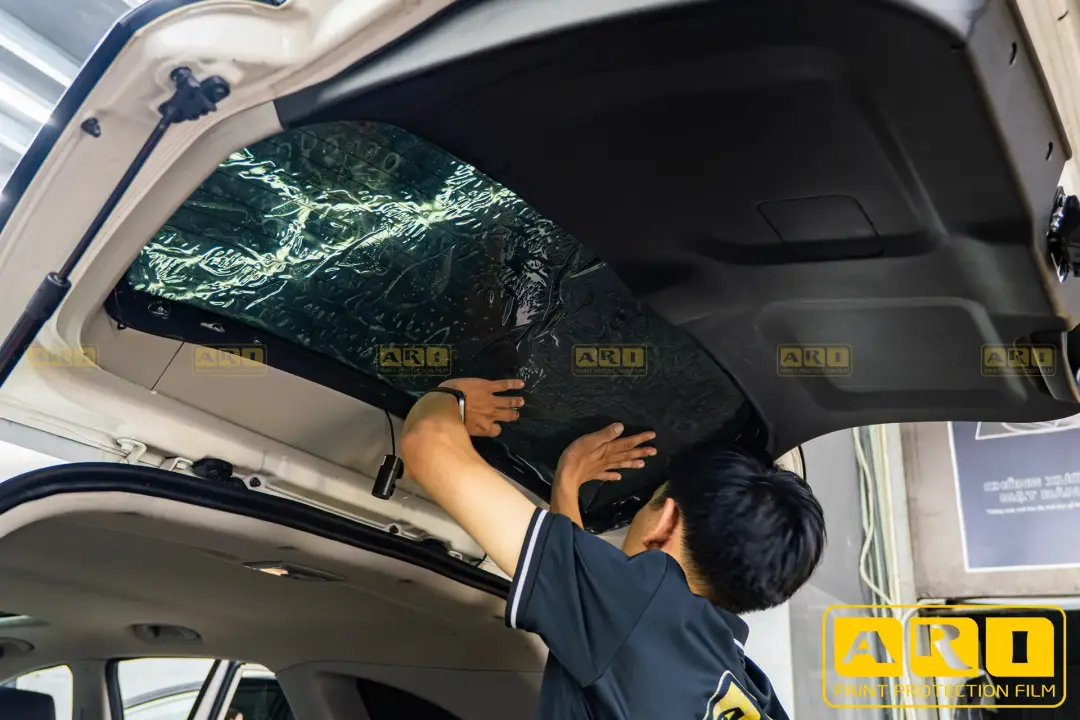
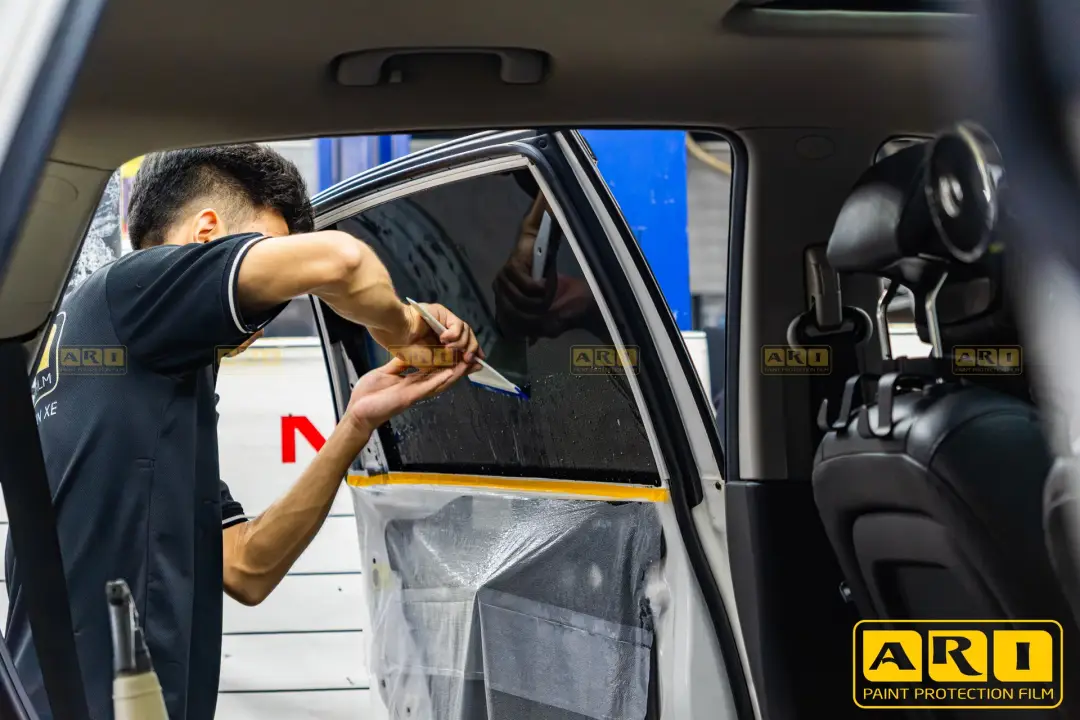
The photos show film applied to the front windshield, the front door glass, the rear left door glass, and the rear window, and the Chevrolet Captiva heat film also extends to the cargo area ceiling near the tailgate, where black metallic film was pressed into place.
Viewed from the driver's seat, the front door glass shows clear film before the installation is finished. A side photo of the vehicle shows the rear left door glass and rear window with the darker film in place.
How do the technicians work at the ARI workshop?
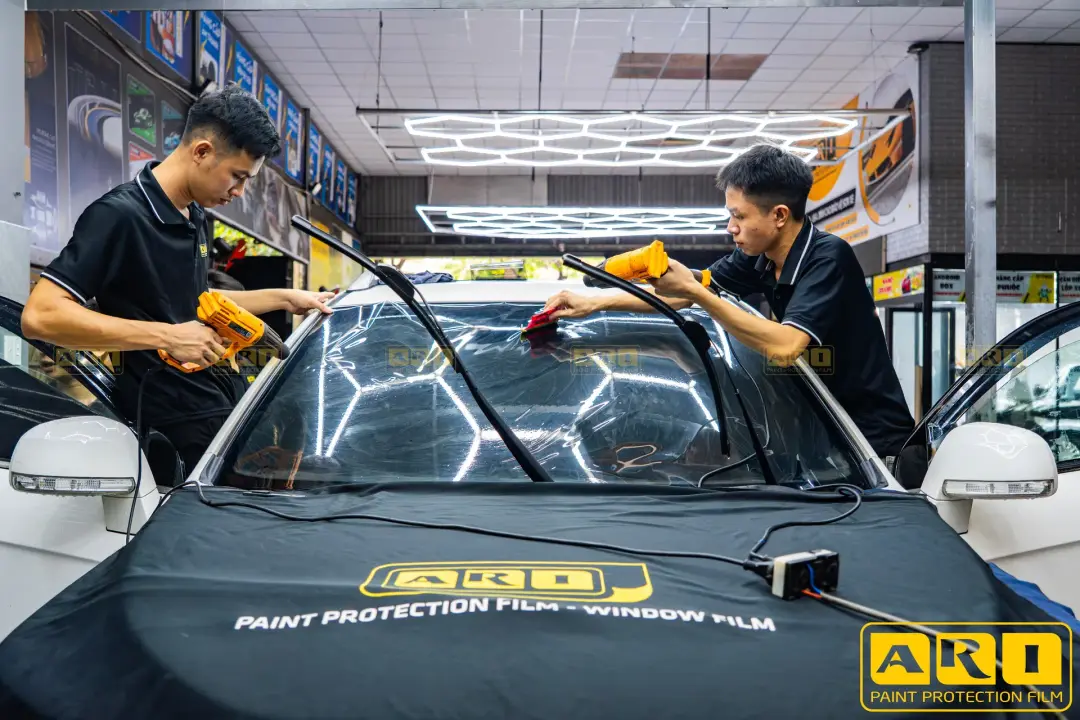
The photos show two technicians in black shirts installing window tint for cars on the windshield. One uses a heat gun to soften and shape the film, while the other uses a squeegee to push air bubbles and water out from under the film.
On the rear window, the installer typically works from inside the cabin, squeegeeing the upper section of the glass while covering the film to keep dust off it. For the cargo ceiling, the film is pressed in by hand, smoothing from the center outward to the edges.
How should you care for the vehicle after heat rejection film is installed?
After installation, the film needs time to dry and bond fully to the glass. During this period, avoid cleaning the glass and do not roll the windows down for the duration the workshop recommends.
Afterward, clean the glass with a soft cloth and an ammonia-free cleaner. Never scrape the film with sharp objects, and avoid harsh chemicals that can damage the film's coating.