Fixing PPF pattern mismatch errors involves a systematic check of the vehicle's specific trim, the plotter's calibration, and the digital template's accuracy. Technicians should verify the car's production year and exterior packages before cutting to ensure the paint protection film (PPF) aligns with sensors and body lines. By identifying whether the issue stems from measurement units or hardware settings, shops can reduce material waste and improve workflow.
A miscut film can waste significant resources in an instant. Technical staff often struggle with patterns that do not hug the vehicle contours correctly, even when using modern digital tools. Understanding the inspection and adjustment process is essential for any professional installer looking to maintain high standards and minimize overhead costs.
Identify the vehicle model and version
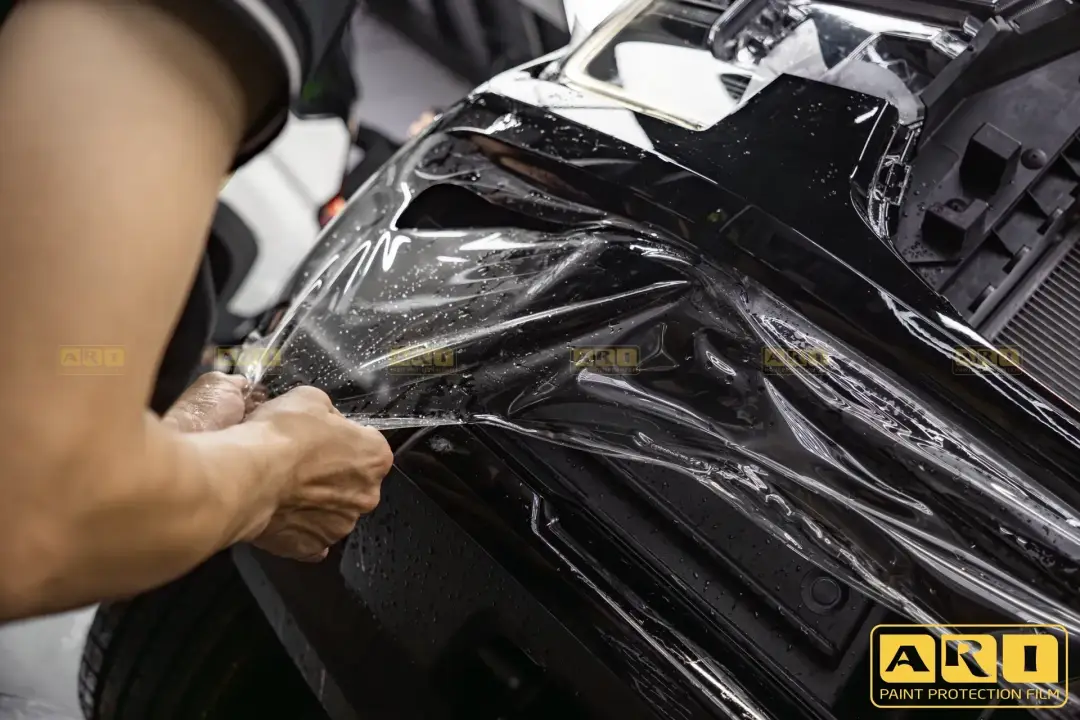
Confusing the production year with the registration year is a primary reason why vehicle dimensions are often incorrect. Manufacturers frequently release mid-cycle facelifts that include subtle changes to bumpers, grilles, or light clusters. If an installer relies solely on vehicle paperwork without a physical inspection, selecting the wrong file in the ppf software becomes a high risk.
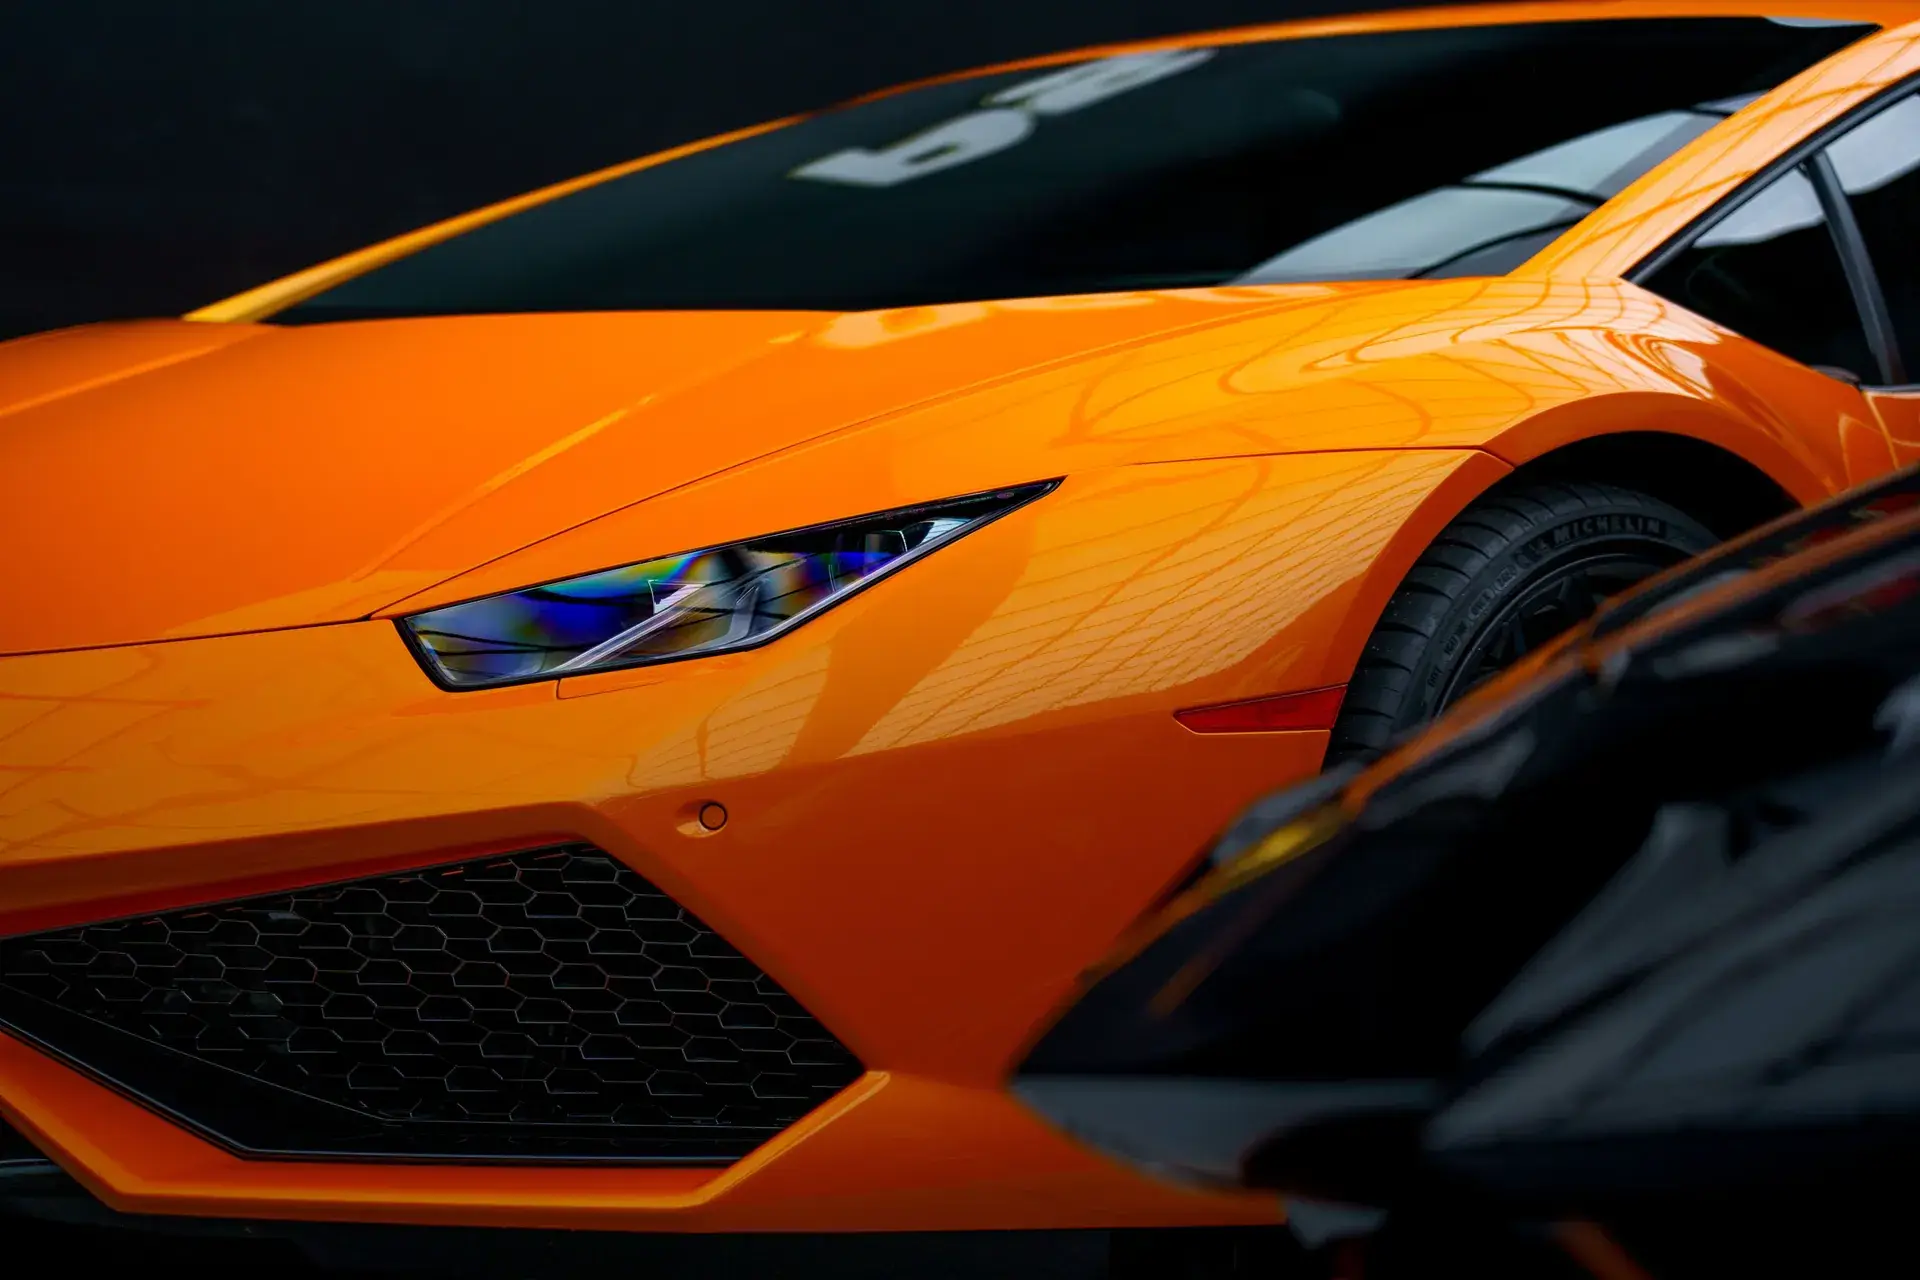
Workshops must carefully cross-reference exterior equipment packages, such as sport trims or aftermarket additions. Because paint protection film (PPF) is designed according to standard factory forms, any modification to air intakes or sensors makes the standard pattern incompatible. Verifying the vehicle's appearance before confirming the cut helps reduce the need for repeat attempts.
Is the error caused by software or the plotter?
When a cut film does not fit, you must determine if the discrepancy is in the digital data or the mechanical operation of the machine. Common errors often arise from inconsistent measurement units between the design program and the output device. Furthermore, setting the blade pressure incorrectly can cause the film to stretch or bunch, leading to a finished piece that differs from the original drawing.
| Source of Error | Common Indicators | Recommended Solution |
|---|---|---|
| Software Data | Misplaced sensors or vents in the digital preview | Update templates or contact technical support |
| Plotter Hardware | Distorted shapes or jagged edges on the film | Calibrate rollers and check blade pressure |
| Human Factor | Wrong model or trim selection in the database | Cross-reference the VIN and physical features |
Installers should regularly review the plotter configuration to ensure the accuracy of the rollers and the blade. If vector file errors are visible in the software preview, it is best to contact technical support for a data update. Proper coordination between updated software and a well-maintained plotter limits dimensional errors during the installation process.
How to reference points on the digital drawing
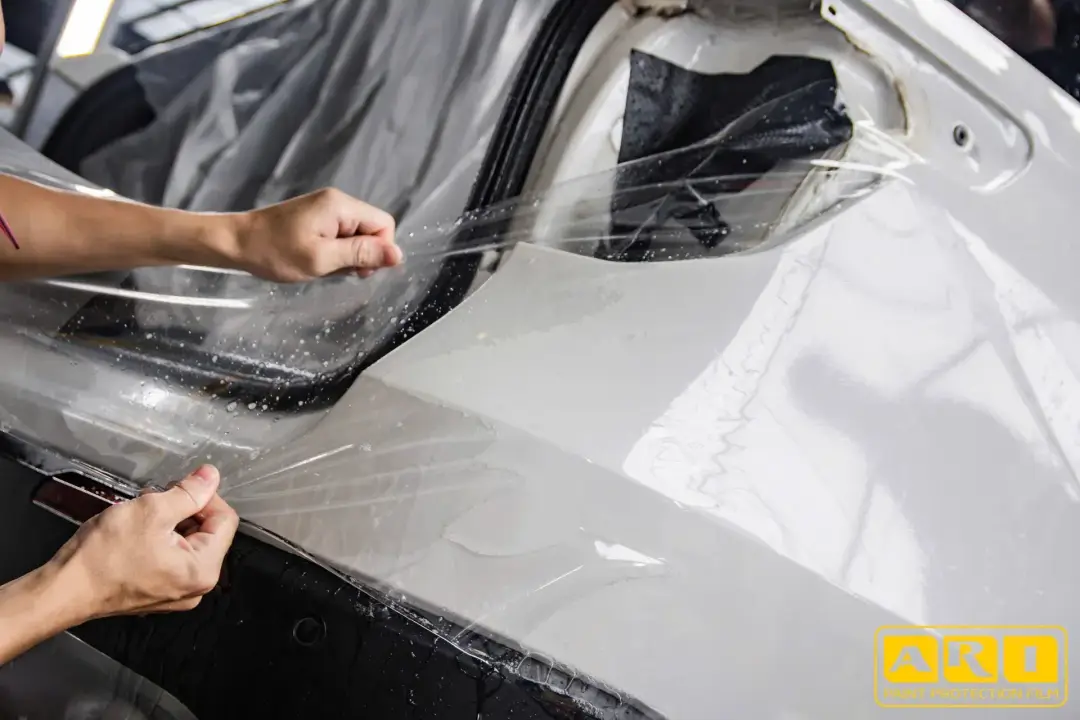
Before sending the final cut command, technicians should perform a quality check by comparing digital reference points to the actual vehicle. Key areas to inspect include:
- Sensor hole placements.
- Fog light recesses and air intakes.
- Prominent body lines on the hood or fenders.
Reviewing the relief cuts and edge gaps within the software helps the installer visualize the final coverage. In cases where minor discrepancies are found, experienced technicians may perform manual adjustments to the vector file. However, this requires a deep understanding of scale to avoid compromising the structural integrity of the high-quality TPU (Thermoplastic Polyurethane) film.
The economic impact of frequent film recutting
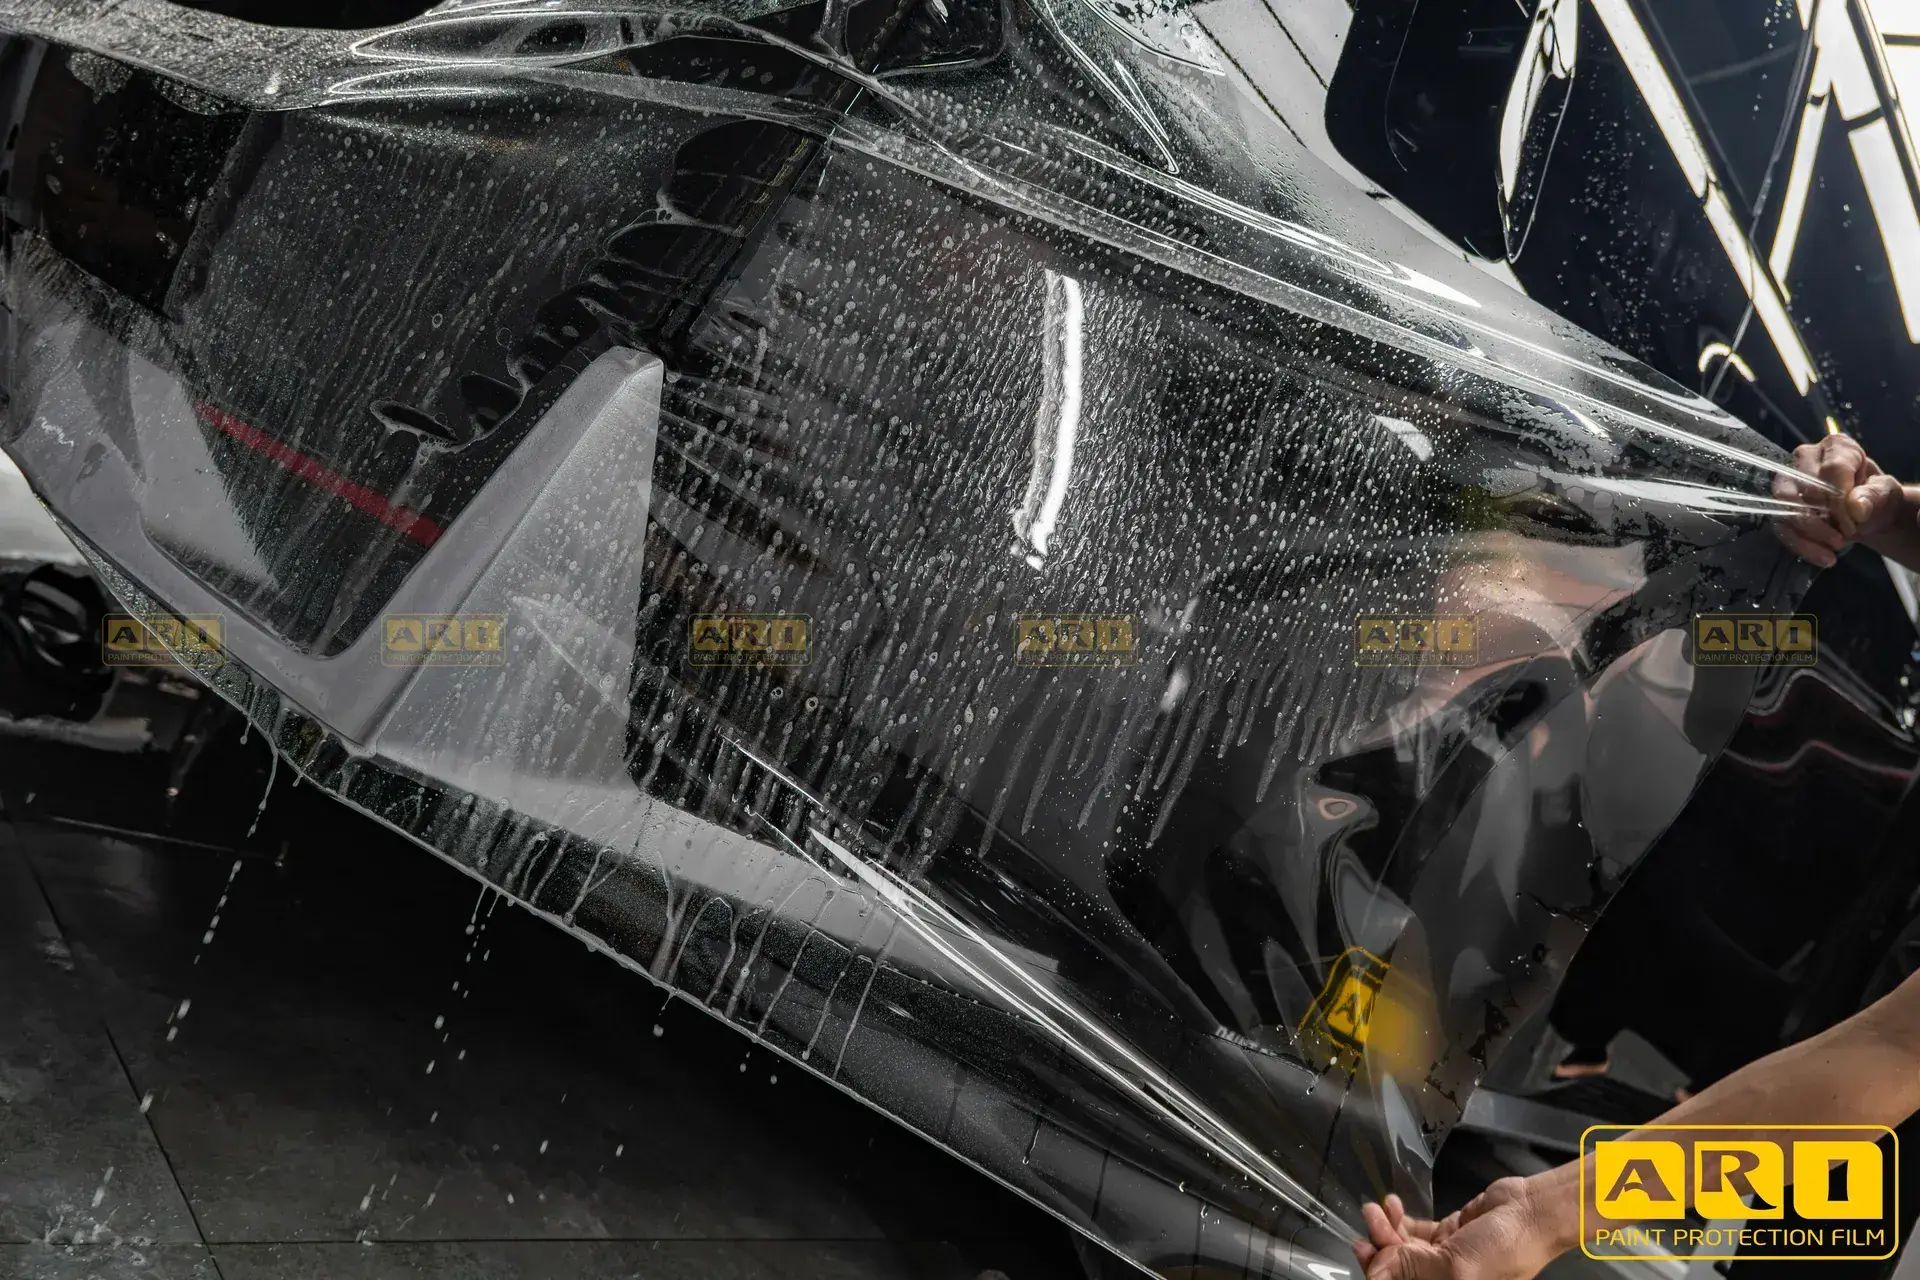
Material loss due to cutting errors directly impacts the profit margins of a detailing center. TPU-based protection film is a premium material, so every wasted meter represents a notable financial loss. Beyond the cost of the film itself, starting the process over consumes valuable labor hours and creates a bottleneck in the workshop's delivery schedule.
Wasted time also translates into lost opportunity costs, as the team cannot move on to the next scheduled vehicle. A workflow that lacks pattern control creates psychological pressure on installers, which can lead to further mistakes. Using quality ARI PPF combined with precise operational steps helps a shop maintain its professional reputation and economic health.
What to do when you detect a pattern inaccuracy
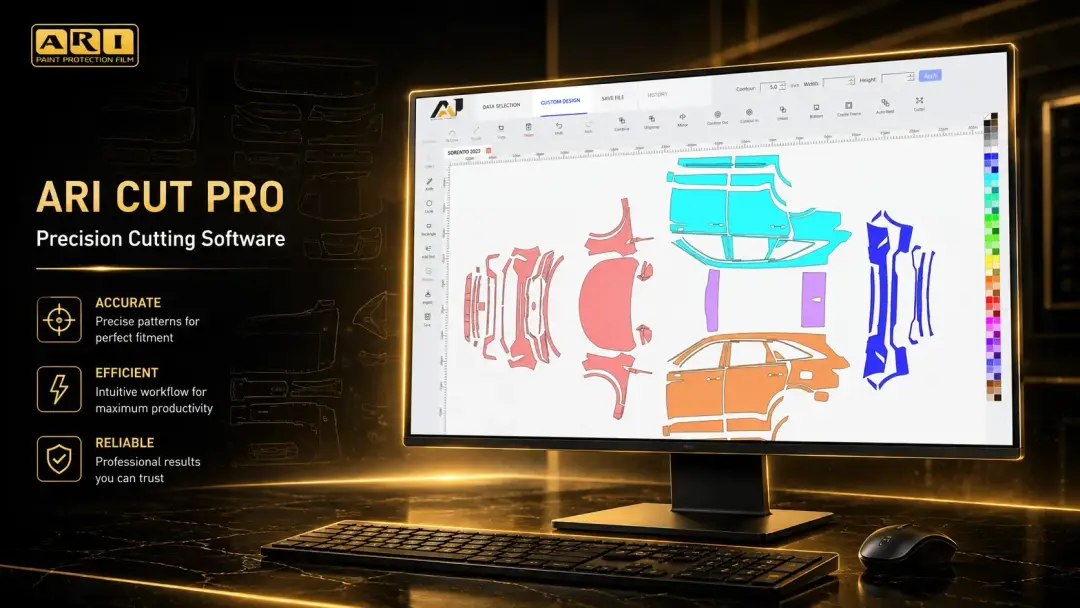
If a pattern mismatch is detected, the first step is to re-measure the vehicle's surface using a soft tape measure. Record the specific dimensions that are off, such as the total width or the exact distance between cutouts. This data helps determine if the issue is a plotter step-calibration error or a flaw within the original digital template.
After making the necessary adjustments, save the notes within the edited file for future use on similar vehicle models. Professional installation relies on a combination of manual skill and effective data management. Proactively controlling for errors during the preparation phase ensures a more cost-effective and streamlined workflow for the entire team.
See more: PPF Cutting Software Buyer’s Guide for Installers
Frequently Asked Questions
Why is the cut PPF misaligned with the car's sensors?
This misalignment is usually caused by a version mismatch between the software template and the physical car at the shop. Even within the same model year, different trim levels or optional equipment packages can change the sensor placement. Always compare the digital preview against the car's surface before committing to a full cut.
How can I tell if the error is from the file or the plotter?
Check the vector file preview in your software; if the proportions look correct on screen, the issue is likely mechanical. Plotters with dirty rollers or incorrect step-size settings can cause the film to shift or distort during the cutting process. You can test the accuracy by cutting a small sample on paper before using expensive TPU.
Should I manually edit the vector file if it doesn't match?
Manual edits should only be performed if you have experience with design software and understand how the film will stretch during installation. Incorrect modifications can ruin the fit of the entire piece, leading to more material waste. For significant errors, it is safer to request an updated drawing from your software provider.
How much does recutting film cost the workshop?
Recutting creates a double loss involving both the physical TPU material and the technician's hourly labor. When a kit is wasted, the shop loses the profit margin for that job and delays the progress of subsequent vehicles. This lowers overall operational efficiency and can lead to customer dissatisfaction if delivery is delayed.
How do I verify the exact car model before cutting?
The most reliable method is to check the vehicle's VIN and compare physical exterior details with the images provided in the software. Do not rely solely on the registration year, as the vehicle might be an older model year that was sold later. Observe the specific shapes of the headlights and body creases to select the correct file.
Double-check all vehicle specifications and plotter settings before starting the machine to minimize the risk of ARI PPF waste in your workshop.